We love the Kalita Wave Drippers because they are engineered with a flat bottom to provide even extraction from your grind. The wave shape of the Kalita pour-over coffee dripper is designed to insulate the slurry so it does not lose heat. Offered in ceramic, steel or glass, the testament to how well this designs works is in the flavor of the coffee Kalita equipment brews. Below is our step-by-step guide on how to get the most out of you pour over coffee maker. In this recipe we used the Kalita Wave 185 Stainless Steel Dripper, Acaia Pearl White Scale, Kalita Kettle, hand grinder, Kalita 185 Filters and Kalita Server

How to Brew with Kalita Wave
Step 1: Start by heating up water in your kettle. A gooseneck is recommended as it allows you to have much more control over your pours which is essential to a perfect brew. We recommend heating up to 195-205 degrees, any hotter or colder can result in inconsistencies. You can use a simple beverage thermometer to monitor your temperature
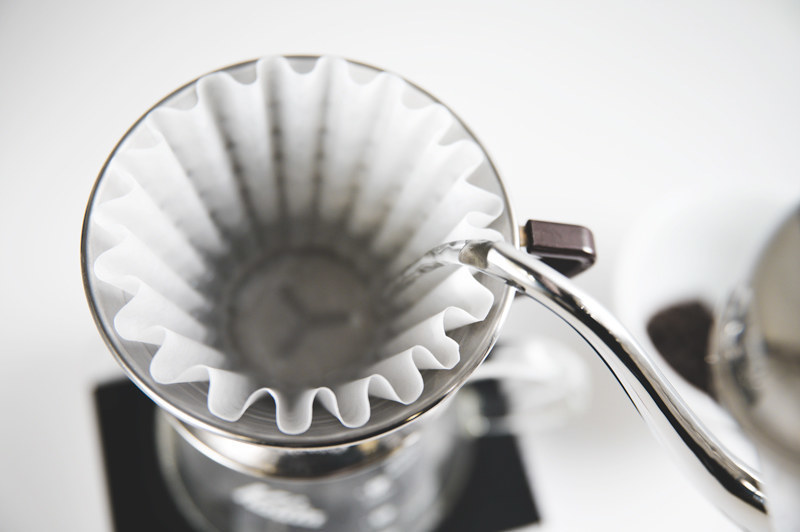
Step 2: Place filter in the dripper and pour hot water over the filter saturating it to remove any paper taste the coffee may pick up. Additionally, warming everything up keeps the brewing temperature stable. Discard hot water.
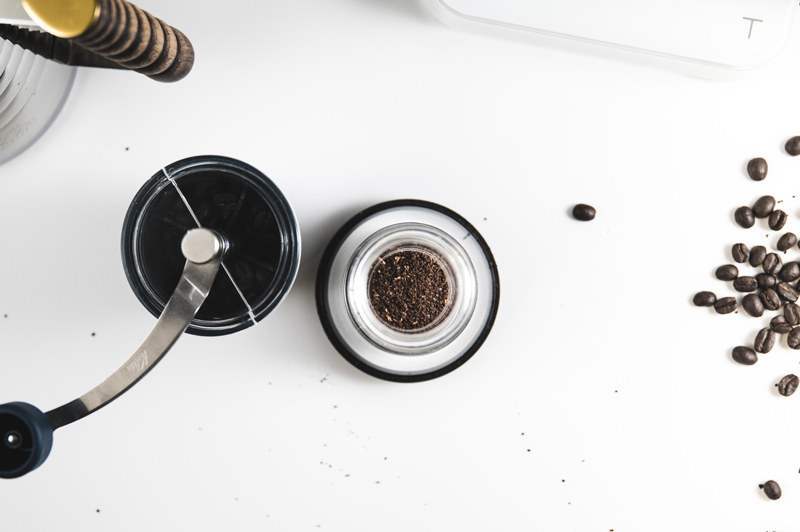
 Step 3: Grind your coffee to a medium grind setting. It should have a little grit but not visibly chunky, resembling sea salt. We recommend following the SCA Gold Cup Standard of 1:16 ratio. For this recipe we used 20 grams of coffee to 320 grams of water.
Tip: Don’t be afraid to experiment with the 1:16 ratio. We have found 1:15 can taste great as well as a 1:17, depending on the coffee, grinder and taste preferences.
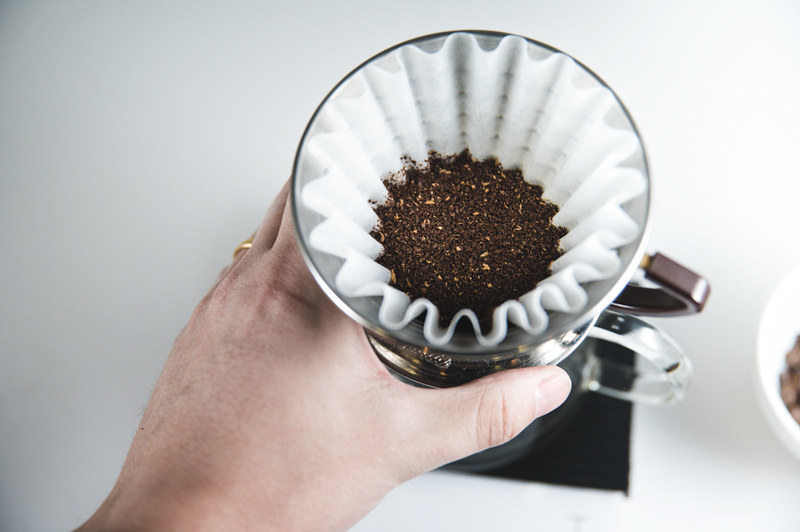
Step 4: Add coffee to the brewer and give it a little shake to distribute the coffee evenly across . The coffee should be leveled out.
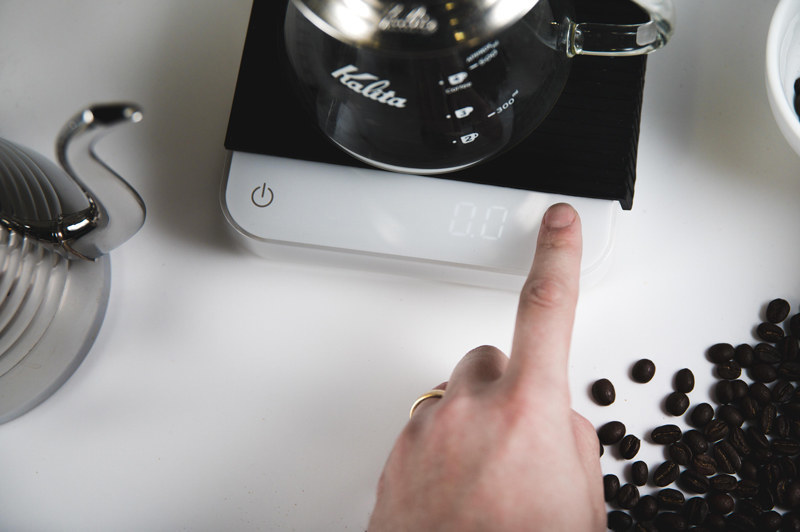
Step 5: Zero out the scale and we are ready to brew!
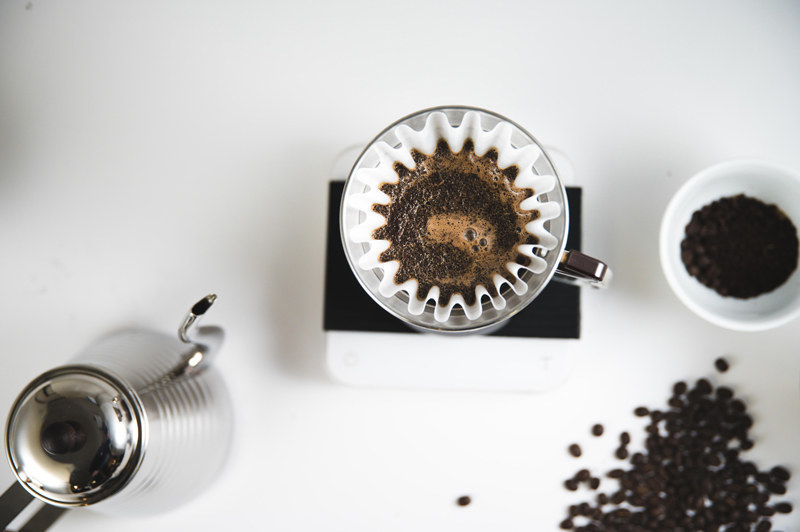
Step 6: Next comes our favorite part (besides drinking the coffee). This is where we start the “bloom” process. the idea is to saturate the grounds with roughly 60 grams of water allowing the co2 gasses to release resulting in majestic bubbly action. Wait about 30-45 seconds for the bloom to do her thing before resuming the brew process
Step 7: Gently add more water in continuous controlled circles, until you reach 320 grams. (for 1:16 ratio at 20 grams of coffee).

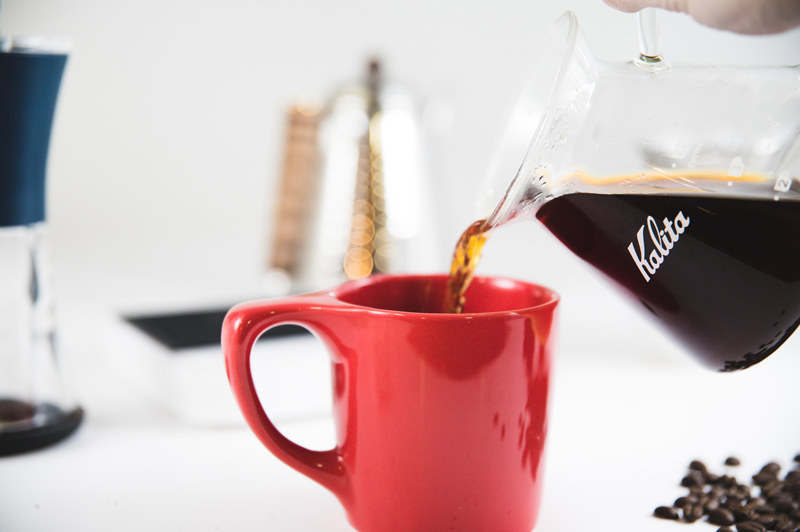
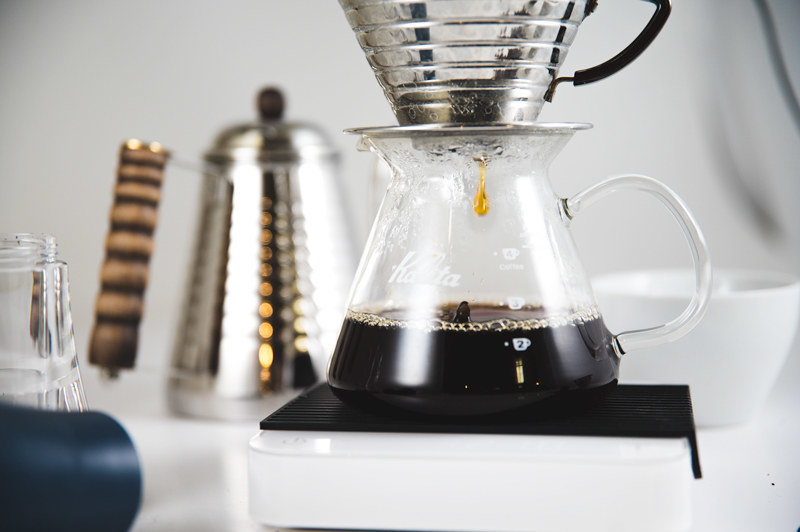
Step 8: Let the coffee continue to drain into your mug or decanter. Your total brew time should be between 2-3 minutes. If not, you may need to adjust your pour or grind size to get to that desired time.
Step 9: Discard the used grounds and filter. We encourage composting as it can add nitrogen to you compost piles (and it doesn’t add to the landfill). Pour coffee into your favorite mug and enjoy!